

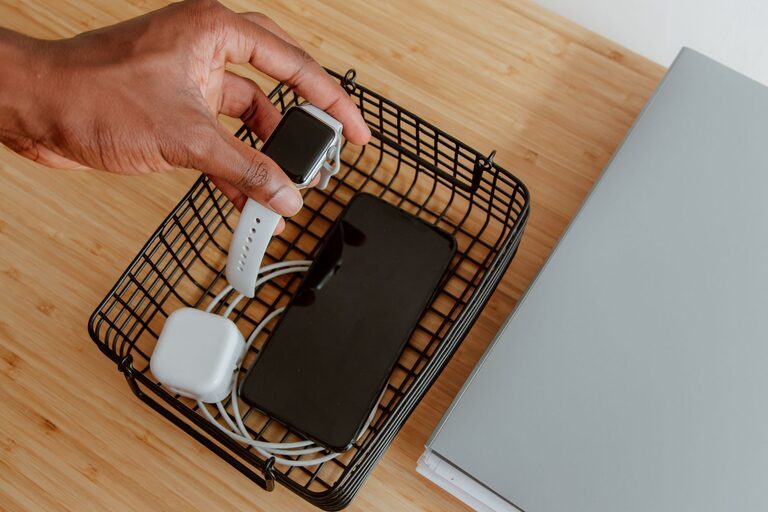
Setting up a dedicated charging station at home or in the office can simplify your daily routine, reduce clutter, and keep your devices ready to go. Whether you have smartphones, tablets, smartwatches, or other rechargeable gadgets, creating an organized space to charge everything is a smart move. This guide walks you through the essentials of designing and setting up a functional charging station that fits your needs.
Why Create a Charging Station?
A charging station offers several benefits:
– Organization: Keeps cables and devices tidy in one place.
– Efficiency: Charges multiple devices simultaneously.
– Safety: Reduces the risk of tripping over cords or damaging your electronics.
– Convenience: Makes it easier to find and grab your fully charged devices.
Now, let’s dive into how to build a charging station that works for you.
Step 1: Choose the Right Location
Finding the perfect spot is the first step. Consider these factors:
– Accessibility: Pick a place where you and others in your home frequently spend time, such as a living room shelf, kitchen counter, or bedroom desk.
– Power Source: Ensure there’s an electrical outlet nearby to plug in your chargers.
– Ventilation: Avoid cramped or enclosed spaces to prevent overheating.
– Safety: Keep the station away from water sources or high-traffic areas to prevent accidents.
Step 2: Select a Charging Hub or Power Strip
Having enough outlets and USB ports is crucial for a successful charging station.
– Multi-port USB Chargers: These chargers can power several devices through USB cables using a single outlet.
– Power Strips with USB Ports: These combine regular electrical outlets and USB charging ports.
– Smart Chargers: Some offer fast charging, device identification, or surge protection for added safety.
Make sure the charger you select supports the types of devices you own.
Step 3: Organize Your Cables
Cable clutter is a common challenge. Here are some helpful tips:
– Use Cable Management Tools: Clips, sleeves, or cable boxes can keep wires untangled.
– Shorten Cables: Use shorter cables or coil longer ones neatly.
– Label Cables: Especially useful if multiple people share the station.
– Color-Code: Choose different colored cables for specific devices to identify them quickly.
Step 4: Pick a Charging Station Container or Stand
To hold your devices upright and organized, consider:
– Charging Station Organizers: Designed with slots or compartments for phones, tablets, and accessories.
– DIY Solutions: Use small baskets, drawer organizers, or repurpose items like cardboard dividers.
– Desk Trays: Keep everything in one place while maintaining a clean look.
Choose something that fits your style and the number of devices you need to charge.
Step 5: Set Up and Arrange
Now that you have your location, charger, cables, and organizer, it’s time to assemble:
- **Plug in Your Charger:** Connect the multi-port charger or power strip to the outlet.
- **Route the Cables:** Use cable clips or sleeves to keep cords neatly aligned.
- **Place Your Devices:** Insert each device into the organizer or stand, connecting them to the appropriate cable.
- **Keep Accessories Nearby:** Store extra cables, earbuds, or power banks in a small basket or drawer close to your station.
Additional Tips for a Better Charging Station
– Charge Overnight Safely: Avoid covering your devices or charging station to prevent overheating.
– Regularly Clean the Station: Dust and wipe down surfaces to maintain neatness.
– Update Your Equipment: Replace worn cables and chargers to ensure optimal performance.
– Add a Label or Sign: If the station is shared, a small reminder helps keep it organized.
Conclusion
Setting up a charging station is a simple yet effective way to keep your devices powered and your space tidy. By choosing a suitable location, investing in a quality charger, managing cables thoughtfully, and using the right organizer, you’ll enjoy a clutter-free charging experience. Whether in a busy home or a shared workspace, a dedicated charging station can make a big difference in your everyday tech routine.